Hello my wonderful crafty friends!
Ready for a little inspiration? Two Octobers ago, I wrote a tutorial featuring embossed acetate. I thought it would be fun to revisit that with a little bit of a twist.
Ready? Well, let's jump in!

Step 1: Place a piece of acetate in an embossing folder. I use overhead projector transparencies, but you can also use craft plastic or the sheets clear stamps come on.

Step 2: Run the acetate and folder through your die cut machine.

Step 3: On the side of the acetate where the design is sunken, fill the "wells" with a clear drying glue. I prefer Glossy Accents for this. You may want to do this step and the next two working in small sections so the glue doesn't dry to fast.
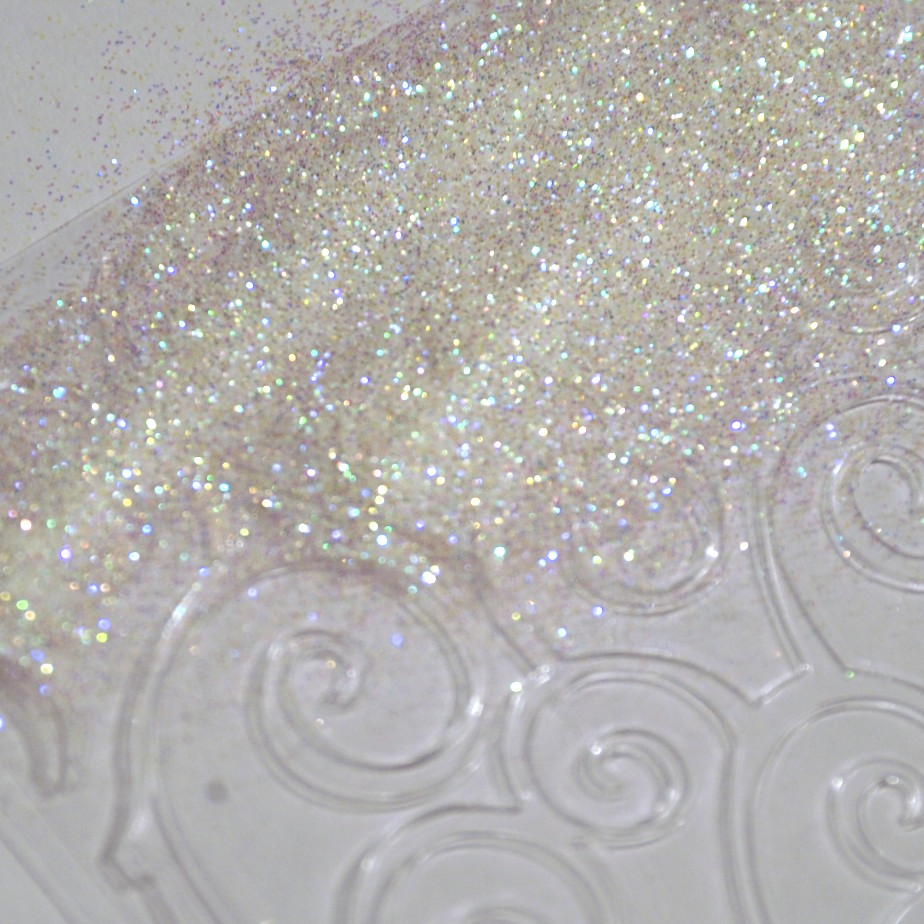
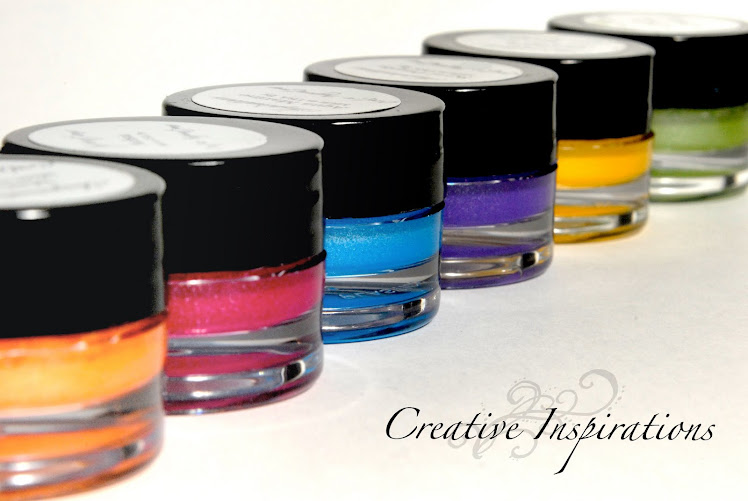
Step 4: Cover with Resplendence glitter. I'm using Angel Dust.

Step 5: Carefully tap off extra glitter and return it to the jar.
When you have done the whole design, set it aside to dry completely.

Step 6: Cut the front side of your card shorter than the back.
(you could die cut a "window" somewhere on the front if you rather. Lots of possibilities!)

Step 7: With a pencil, lightly mark the edge of the front of the card. This will give you a reference on how much to paint later.

Step 8: Tear a piece of cardstock that is a little larger than your card so you have a rough edge. Because we are working with a wet medium, a thicker paper works better.

Step 9: Place the torn cardstock over the INSIDE BACK of your card. This is where we use the pencil lines... you want to make sure the torn edge is above these lines. This will ensure that the entire section of card behind the acetate is painted. Carefully paint the bottom of the card with Creative Inspirations paint, using the torn edge of the cardstock as a mask. This adds both color and shimmer in one step... Fabulous!

When you remove the cardstock mask, you will have an uneven jagged line... fun, huh!

Step 10: Run a strip of red liner tape along the bottom of the shorter front edge. This is where you will attach the acetate.

Step 11: Attach your sparkly embossed acetate with the raised side of the design facing up. (so, the glittered side will be facing the inside of the card. Trim the front of the card to match to back of the card.

Step 12: Use a ribbon or strip of paper to hide where the card and acetate join. I used some crinkle ribbon for some extra texture.
Here's the finished card...

You can see in the close up that you can see both the larger sparkle of the glitter, and the shimmer of the paint behind. Love it!

Want another way to use this same technique?

Cut a piece of paper and a piece of the sparkly acetate into a fun shape. Paint the paper with Creative Inspirations paint, then glue the acetate over it with a clear glue. I use a few dots of glue behind glittered areas so it won't be as noticeable.
Now you have a fun accent!
Enjoy!
~Kassi
9 comments:
FABULOUS!!!!!
Awesome idea - thank you so much for sharing.xx
OMG I am totally doing this!! Awesome job Kassi!!!
Wow! Awesome technique! Thanks for sharing Kassi! =)
Oh my goodness! I love this look! I totally have to try it!!
WOW!! This is amazing!! Love that you added the glitter to the sunken in area, I have only tried adding it to the raised unsunken area. What a clever and unique idea!!
Your card is stunning!
Thank you for the amazing inspiration & technique!
Oh wow, this is just gorgeous! The folder did a beautiful impression on it, and the glitter is beautiful! I'll have to check out the thickness of the overhead projector sheets. tfs such a great idea! hugs, Kimberly
That is a really nifty technique -- and fun too!
Awesome! This is something i can't wait to try. Thanks for sharing.
julie
Kassi this is super cute card, and love the technique you used on the acetate!!!
Hugs,
Cheryl
Post a Comment